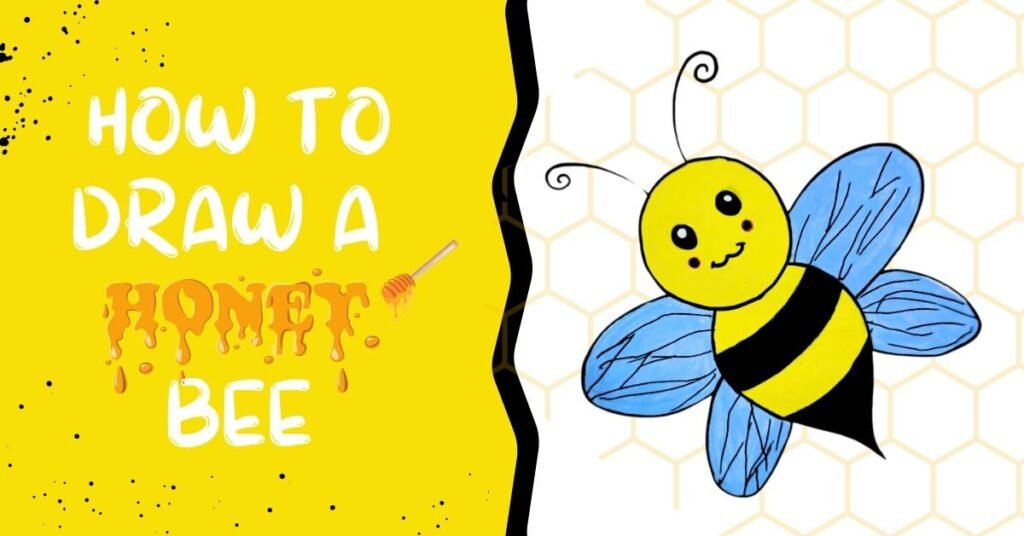
Are you an artist looking to learn how to draw a bee? Look no further! In this article, we will guide you through the step-by-step drawing of a bee. Whether you’re a beginner or an experienced artist, we’ve got you covered.
Materials Needed to Draw a Bee
Before we dive into the tutorial, let’s gather the necessary materials for drawing a bee.
You will need:
- Pencil
- Eraser
- Paper
- Black Marker
- Optionally, colored pencils or markers to add extra flair to your drawing.
Step-By-Step Drawing of a Bee
Step 1:
Now, let’s start with the first step: the basic outline. Begin by lightly sketching two overlapping circles for the honeybee’s body. This will serve as a foundation for the rest of the drawing. The upper circle represents the head and lower circle is the base for body. Refer to the image below.

Step 2:
Now, let’s work on the face and give honeybee it’s features.
Draw two large compound eyes on the head, and between them, add a small triangular shape or a regular insect smile for the honeybee’s mouth. Don’t forget to add tiny antennae on top of the head as well.

Step 3:
Moving on to the third step, let’s add some details on the body. Firstly, extend the circle, tapering towards the end to make the tail like structure of the bee. Honeybees have distinctive stripes on their bodies. So now, use short, curved lines to create these stripes along the bee’s abdomen.

Step 4:
Once you are satisfied with the shape of the body (thorax), let’s move forward. In this step, we will draw 4 semi circular shapes representing the wings on each side of the thorax, as shown in the image below. Honeybee wings are transparent, so keep them light and delicate.

Step 5:
As we move forward to the next step, it’s time to add black color to mark more details to make our honeybee drawing more realistic and defined. So, add black color to the stripes you drew in previous steps.

Step 6:
If you want to take your drawing to the next level, consider using colored pencils or markers to add vibrant colors to your honeybee. Add yellow or orange color to the body of the bee and light blue color to the wings. Also, color the eyes black and white and add two cute little red or pink dots below the eyes of the bee.
Be creative and have fun with it!

Step 7: Finalize – Drawing of a Bee
Once you are satisfied with the details, it’s time to finalize your drawing. Trace over your pencil lines with a pen or a darker pencil. You can also add shading to different parts of the honeybee to create depth and dimension.
Draw small lines on the bee’s wings to represent the veins. The more attention you pay to these little details, the more realistic your drawing will appear.

Remember, practice makes perfect. Don’t get discouraged if your first attempt doesn’t turn out exactly as you imagined. Keep practicing and experimenting, and soon you’ll be able to draw stunning bee illustrations.
In conclusion, drawing a honeybee is a rewarding experience that allows you to appreciate the beauty of nature in a whole new way. With the step-by-step instructions provided in this article, you have all the tools you need to create your very own honeybee masterpiece. So grab your art supplies and get started on your artistic journey!


