
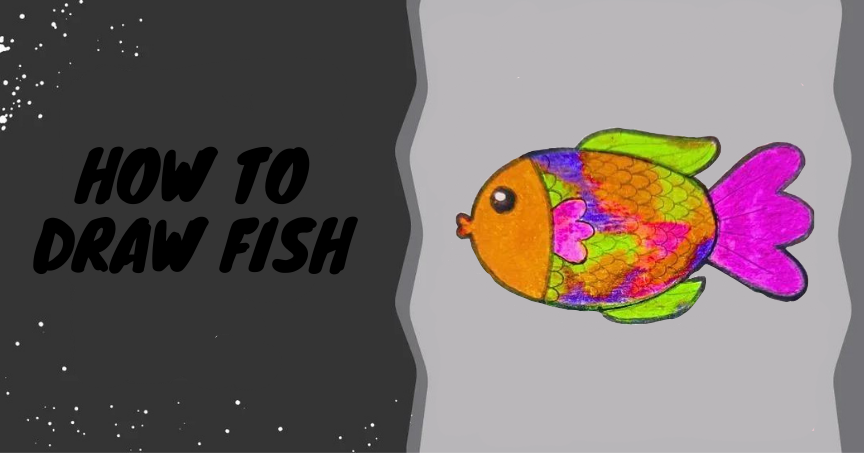
Drawing is a wonderful way to express creativity and have fun. Whether you’re a beginner or an experienced artist, learning how to Easy drawing of fish can be an exciting and rewarding experience. In this step-by-step guide, we will take you through the process of drawing a fish from start to finish. So grab your materials and let’s dive into the world of fish drawing!
Materials Required
Before we start, let’s gather all the materials you’ll need for this drawing:
- Paper: A blank sheet of paper will be the canvas for your fish masterpiece. You can use any type of paper, but a sketch pad or drawing paper is recommended for better results.
- Pencil: A pencil will be your best friend throughout this drawing journey. Make sure to choose a pencil with a medium hardness (HB or 2B) for smooth lines.
- Eraser: Mistakes happen, and that’s okay! An eraser will help you correct any errors along the way. Look for a soft eraser that won’t damage your paper.
- Colored pencils or markers (optional): If you want to add a splash of color to your fish, colored pencils or markers can bring it to life. Feel free to experiment with different shades and textures.
Now that you have everything you need, let’s dive into the step-by-step process of drawing a fish!
Step-by-Step – Fish Drawing Easy
Step One
Basic Outline:
To begin, lightly sketch an oval shape in the center of your paper. This oval will serve as the main body of your fish. Next, add a small triangle on one end of the oval to represent the tail. Don’t worry about making it perfect just yet. We’ll refine the shape as we go.

Step Two
Head, Mouth and Eye Details:
Starting from one end of the oval, draw a slightly curved line towards the front to create the fish’s head. At the tip of the head, draw a small circle for the eye. Don’t forget to add a tiny dot inside the eye to give it life and make it more expressive. Also, make a small fish pout (inverse 3) representing the mouth of the fish ;p.

Step Three
Fins:
Now, let’s add some fins to our fish. On both sides of the body, draw two triangular-shaped fins using curved lines. These fins will give your fish a sense of movement and balance. Also, add one fin in the center, like a mini version of the tail.

Step Four
Additional Details:
To make your fish more realistic, let’s add some scales. Draw overlapping curved lines along the body of the fish. These lines can be as close or as far apart as you like, depending on the size of your fish and the level of detail you want to achieve. Additionally, if you want to add more fins, you can draw small triangular shapes near the tail area.

Step Five
Finalize Your Drawing:
Now it’s time to bring your fish drawing to life! Carefully darken all your pencil lines, tracing over them to make them bolder and more defined. Make sure to erase any unnecessary guidelines or construction lines that may still be visible. Take a step back and admire your creation!
If you’d like to add color to your fish, grab your colored pencils or markers and let your imagination run wild. Experiment with different shades and patterns to create a vibrant and unique fish. Remember, there’s no right or wrong way to add color, so have fun with it!

Congratulations on completing your fish drawing! You’ve taken a dive into the world of fish art and created something truly special. Remember, drawing is all about practice and exploration. Don’t be afraid to experiment with different styles, colors, and techniques. Each fish you draw will be unique and reflect your own individual creativity.
Now that you have mastered the art of drawing a fish, why not try drawing other sea creatures or even create your own underwater scene? The possibilities are endless! Keep practicing, keep exploring, and most importantly, have fun with your artistic journey. Happy drawing!

