
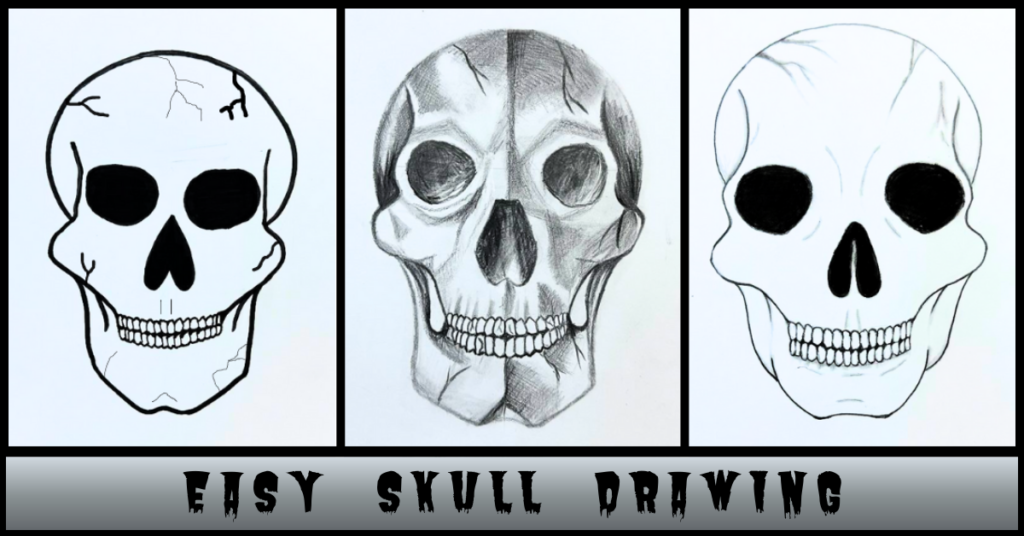
Explore the art of easy skull drawing. Unveil the mysteries of the human skull, a potent symbol of mortality and danger. Explore the dual meaning behind skulls, celebrating life through creative expression. Create your own captivating and straightforward skull drawings with our easy guide.
It is a fun task to draw skulls; you can also draw skulls in simple steps. An artist finds creative ways to sketch skulls for various reasons. Undoubtedly, drawing a skull with perfection is a bit challenging, so we have brought a step-by-step guide on “easy skull drawing in 3 ways.“
Instructions on Easy Skull Drawing Step-By-Step
A skull can be drawn at various levels in different ways. All you will need is:
- Pencil
- Eraser
- Ruler
- Drawing Compass
- Drawing sheet
- Black Marker
Now, you can choose how you want your skull to look like!

Follow the Steps to Draw an Easy Skull Drawing in 3 Ways:
- Beginner Level
- Intermediate Level
- Advanced Level
Beginner Level Easy Skull Drawing:
Step 1: Draw a circle and a square of equal radius and length, respectively, so that the circle’s lower half coincides with the square’s upper half.

Step 2: Divide the square into 4 equal parts from the center.

Step 3: Draw a triangle for a nose in the middle, as shown in the image below, and draw a nose cavity within the triangle.

Step 4: Draw two uneven symmetrical circles for eye sockets.

Step 5: Now, start with outlining the skull and extend the upper half of the circle inwards. Then draw the lines inside the circle, gently take the curves outwards and continue drawing the line till the jaw area.

Step 6: Start with drawing the chin by connecting two lines beginning from the cheekbones making a broad U shape.

Step 7: Draw the teeth of the skeleton, inside out.

Step 8: Fill the black color inside the eye socket, nose cavity, and spaces in between teeth.

Step 9: Start outlining the skull drawing using a black marker.

Step 10: Make a few curves and lines to highlight the features of the skull. And your beginner-level easy skull drawing is ready!

Intermediate Level Skull Drawing:
Step 1: Start by drawing two uneven circles symmetrically, as shown in the figure below.

Step 2: Now start outlining the skull by drawing curved lines adjacent to eye sockets to form cheekbones.

Step 3: Draw the nose cavity in the middle.

Step 4: Outline the crown area of the skull, as shown in the figure below.

Step 5: Draw the teeth of the skull, inside out.

Step 6: Draw the chin by drawing a U-shape and connecting it with the cheekbones, as shown below.

Step 7: Fill the black color inside the eye socket, nose cavity, and spaces in between teeth.

Step 8: Add cracks and lines to highlight the facial features of the skull. And your intermediate-level easy skull drawing is ready!

Advanced Level Skull Drawing:
Step 1: Draw a circle and divide it into 4 quadrants. Extend the vertical line downwards.

Step 2: Draw two uneven but symmetrical circles for eye sockets.

Step 3: Draw the nose cavity in the middle, as shown in the figure below.

Step 4: Draw a curved line beside the eye sockets to form cheekbones.

Step 5: Now, start drawing the teeth step-by-step, as shown below.

Step 6: Connect two lines originating from cheekbones with a curved U-shape to form the chin of the skull.

Step 7: Start with shading the lower portion of the skull, focusing on the facial features, and continue shading the complete skull.

Step 8: Add definitions and dimensions to show the 3D effect. And your advanced-level easy skull drawing is ready!

I hope you will follow the steps and learn to draw an easy skull drawing in 3 ways and level up yourself from beginner to advance. Remember, the skulls can vary in shape and size, so don’t be afraid to experiment with different shapes and angles. Practice makes perfect, so keep practising and have fun.
Frequently Asked Questions (FAQ)
1. What materials do I need to use to draw a skull?
For basic skull drawing you will need paper, a pencil, and an eraser but if you want to add shading, you need various shading tools like charcoal, graphite pencils, and a mono eraser.
2. How can I add details to the skull drawing?
Use the reference image to add details like eye sockets, nose cavity, teeth, and cheekbones. Add shading to create depth and dimension keeping the source of light in mind.
3. How can I make my skull look more realistic?
Pay attention to the details and shade the sketch properly to create depths and dimensions. Use a variety of tones and textures to create a more realistic look.
4. How do I draw teeth on a skull?
Start by outlining the teeth inside out and then add details to individual teeth. Use shading to add depth to make the teeth look more realistic.
5. How can I practice drawing a skull?
You can start from the beginner level easy skull drawing and practice the proportions and the level up to the intermediate level to practice the details free-handedly, and now you are ready to practice shading by drawing an advanced level skull.

